Cheesy Spinach Artichoke Sliders
Highlighted under: Comfort Cravings Kitchen
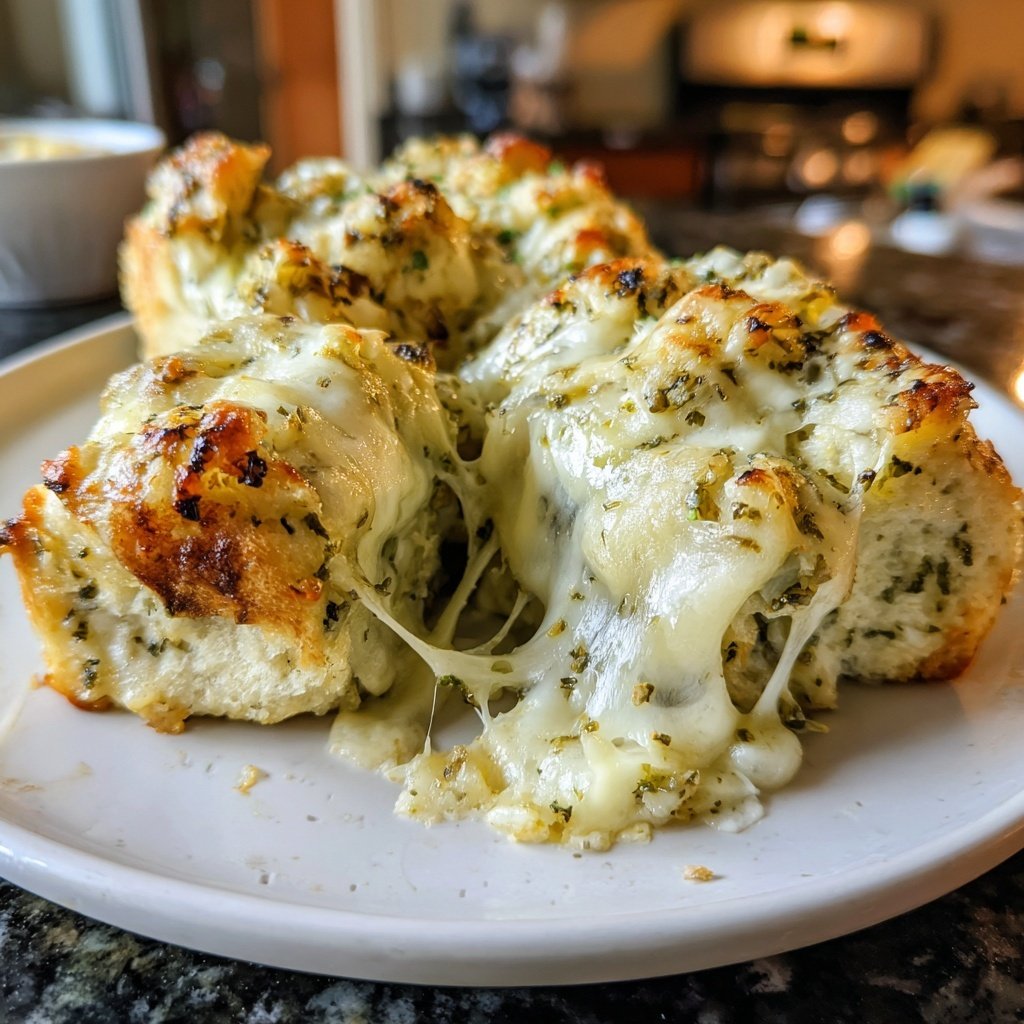
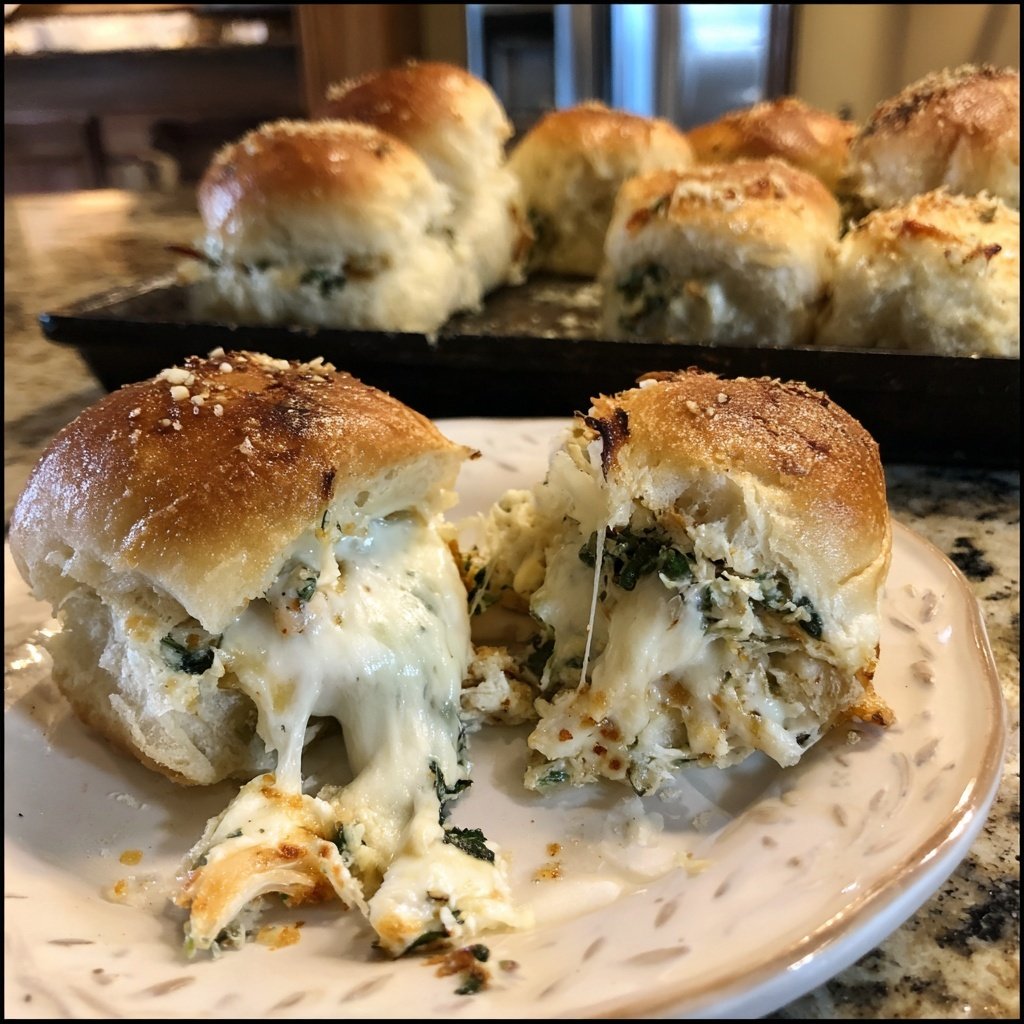
I absolutely love indulging in Cheesy Spinach Artichoke Sliders as they perfectly combine creamy cheese and fresh greens. Each bite brings together the rich flavors of spinach and artichokes, creating a delightful appetizer that's sure to impress. Whether I'm hosting a party or just looking for a delicious snack, these sliders never disappoint. I also appreciate how simple they are to prepare, making them a great choice for both casual gatherings and special occasions.
When I first made these Cheesy Spinach Artichoke Sliders, I knew they would be a hit at my dinner party. I combined cream cheese, mozzarella, and a hint of garlic for a flavor explosion that pairs wonderfully with the artichokes. The secret is to let the mixture sit for a few minutes before baking; this helps the flavors blend beautifully and really enhances the final result.
Another tip I've discovered is to use fresh spinach instead of frozen. Fresh vegetables impart a brighter flavor and texture that elevates these sliders to a whole new level. Trust me, once you try them, they’ll become a regular feature at your gatherings!
Why You'll Love This Recipe
- Creamy and cheesy texture that everyone will adore
- Quick and easy preparation, perfect for weeknight snacks
- Healthier twist on your favorite party food
Understanding the Ingredients
The cornerstone of Cheesy Spinach Artichoke Sliders lies in the quality of the ingredients used. Fresh spinach adds a vibrant green color and a mild earthy flavor, while canned artichoke hearts contribute a slightly tangy taste and meaty texture. It’s essential to chop them finely to ensure that every slider gets a bit of both in each bite. Using room-temperature cream cheese is crucial, as it blends smoothly with the other ingredients, creating a creamy filling that won’t clump.
Mozzarella cheese not only enhances the flavor but also provides that coveted gooey texture when melted. Opt for part-skim mozzarella if you want a slightly lower-fat version without sacrificing the stretchiness that makes these sliders so delightful. If you prefer a sharper flavor, feel free to experiment by adding a sprinkle of parmesan cheese to the filling.
Assembling and Baking Tips
When it comes to assembling the sliders, be generous with the filling. Spreading the mixture evenly on the buns will ensure that every bite is packed with flavor. If you find that the filling is too thick, consider a small splash of milk or cream to loosen it up, making it easier to spread without making it too runny. Keep an eye on the buns during baking; you want a golden-brown top for a perfect crunch without over-toasting them, which could lead to a dry texture.
For a fun twist, you can top the sliders with a sprinkle of breadcrumbs mixed with a little melted butter before baking. This creates a crunchy topping that adds an enjoyable contrast to the creamy interior. Baking them in a covered dish for the first 10 minutes can help the cheese melt thoroughly before exposing them to direct heat for that golden finish.
Ingredients
Gather these ingredients to make your sliders:
For the Sliders
- 1 cup fresh spinach, chopped
- 1 cup canned artichoke hearts, drained and chopped
- 1 cup cream cheese, softened
- 1 cup shredded mozzarella cheese
- 1/2 teaspoon garlic powder
- Salt and pepper to taste
- 12 slider buns
Make sure to have all ingredients ready for assembly!
Instructions
Follow these simple steps to assemble your sliders:
Prepare the Filling
In a large bowl, combine the chopped spinach, artichoke hearts, cream cheese, mozzarella, and garlic powder. Season with salt and pepper, mixing until well combined.
Assemble the Sliders
Slice the slider buns in half and spread the filling generously on the bottom half of each bun. Place the top half back on.
Bake
Preheat your oven to 375°F (190°C). Arrange the assembled sliders on a baking sheet and bake for 20 minutes or until the cheese is bubbly and the buns are lightly toasted.
Let the sliders cool for a few minutes before serving. Enjoy your delicious creation!
Pro Tips
- For an extra touch of flavor, consider adding chopped jalapeños or a sprinkle of Parmesan cheese to the filling.
Make-Ahead and Storage
These sliders are perfect for meal prep! You can prepare the filling a day in advance; simply store it in an airtight container in the refrigerator. When you're ready to serve, just spread the filling onto the buns and bake. If you've assembled the sliders completely, they can also be wrapped tightly and refrigerated for up to 24 hours before baking. This makes them an excellent option for busy days when you want to serve something delicious without last-minute cooking.
Leftover sliders should be stored in an airtight container in the fridge. Reheat them in the oven at 350°F (175°C) for about 10-15 minutes to restore their original crispy texture. Microwaving is quicker, but it can leave the buns a bit soggy. If planning to freeze, assemble the sliders without baking them, wrap individually, and store in a freezer-safe bag for up to three months.
Serving Suggestions
Cheesy Spinach Artichoke Sliders are versatile and can be elevated with various serving options. Consider accompanying them with a tangy dipping sauce, like a lemon-infused aioli or a spicy marinara, to add an extra flavor dimension. Fresh parsley or chives sprinkled on top before serving can also impart a burst of color and freshness that enhances the dish aesthetically and flavor-wise.
For a more casual presentation, serve these sliders as part of a charcuterie board, pairing them with olives, roasted nuts, and assorted cheeses. This could easily become the star of your appetizer spread. If you're looking to make this a more substantial meal, serve the sliders alongside a light salad or veggie platter for a delightful balance of flavors and textures.
Questions About Recipes
→ Can I use frozen spinach?
Yes, but make sure to thaw and drain it well to avoid excess moisture in the filling.
→ How can I make these sliders vegetarian?
These sliders are already vegetarian! Just ensure your slider buns are also meat-free.
→ Can I make these ahead of time?
Absolutely! You can prepare the filling and assemble the sliders in advance, then store them in the fridge until ready to bake.
→ What can I serve with these sliders?
They pair wonderfully with a fresh salad or a dipping sauce like ranch or marinara.
Cheesy Spinach Artichoke Sliders
Created by: The Brothrecipes Team
Recipe Type: Comfort Cravings Kitchen
Skill Level: Beginner
Final Quantity: 12 sliders
What You'll Need
For the Sliders
- 1 cup fresh spinach, chopped
- 1 cup canned artichoke hearts, drained and chopped
- 1 cup cream cheese, softened
- 1 cup shredded mozzarella cheese
- 1/2 teaspoon garlic powder
- Salt and pepper to taste
- 12 slider buns
How-To Steps
In a large bowl, combine the chopped spinach, artichoke hearts, cream cheese, mozzarella, and garlic powder. Season with salt and pepper, mixing until well combined.
Slice the slider buns in half and spread the filling generously on the bottom half of each bun. Place the top half back on.
Preheat your oven to 375°F (190°C). Arrange the assembled sliders on a baking sheet and bake for 20 minutes or until the cheese is bubbly and the buns are lightly toasted.
Extra Tips
- For an extra touch of flavor, consider adding chopped jalapeños or a sprinkle of Parmesan cheese to the filling.
Nutritional Breakdown (Per Serving)
- Calories: 250 kcal
- Total Fat: 15g
- Saturated Fat: 8g
- Cholesterol: 45mg
- Sodium: 320mg
- Total Carbohydrates: 25g
- Dietary Fiber: 2g
- Sugars: 3g
- Protein: 9g