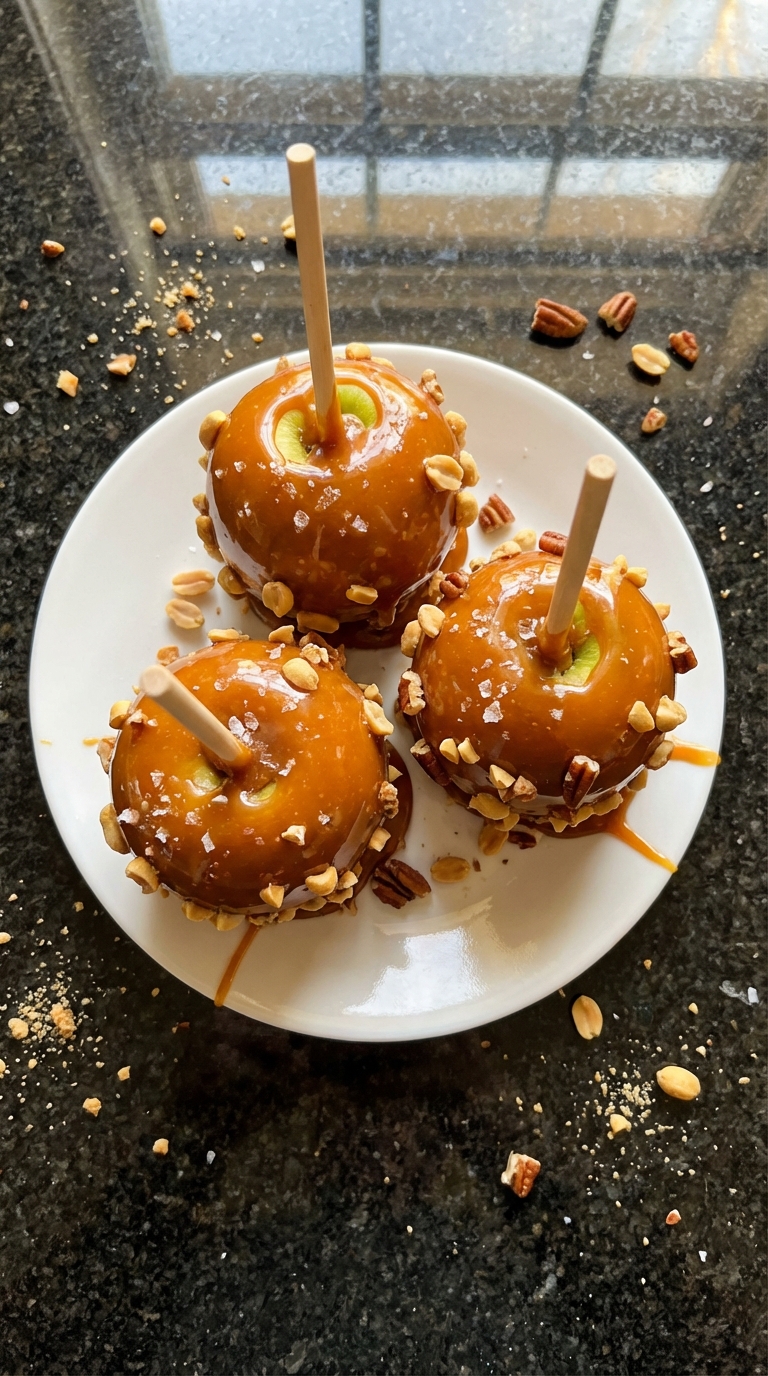
Caramel Drizzled Candy Apples
Highlighted under: Dreamy Dessert Lab
I absolutely love making caramel drizzled candy apples during the fall season. They remind me of county fairs and chilly evenings wrapped in cozy sweaters. The combination of smooth caramel and crisp, tart apples creates a delightful contrast that’s hard to resist. Plus, the process is so much fun, especially when you can customize them with your favorite toppings. Trust me, these mouth-watering treats will not only please your taste buds but also make for an eye-catching dessert display.
Making caramel drizzled candy apples has become a cherished tradition in my household. I tried various techniques to get that perfect glossy finish, and using freshly made caramel was a game changer. It glides smoothly over the apples, creating an irresistible layer that pairs beautifully with the crisp tartness of the fruit.
One time, I experimented by adding a pinch of sea salt to the caramel, and it was a revelation! The salty-sweet balance made the flavors pop even more. Don't forget to let the apples cool completely after dipping them to prevent any caramel runoff!
Why You'll Love This Recipe
- Rich caramel flavor that beautifully complements crisp apples
- Fun to customize with a variety of toppings
- Perfect for fall festivities and gatherings
Choosing the Right Apples
The type of apple you choose can greatly influence the final flavor of your caramel drizzled candy apples. Tart apples, like Granny Smith or Honeycrisp, provide a perfect contrast to the sweetness of the caramel. Look for apples that are firm and shiny; any bruises or soft spots can affect the texture. If you prefer a sweeter treat, consider using Fuji or Gala apples, but keep in mind that they won't balance the caramel's sweetness as well.
Before starting, make sure the apples are at room temperature. Chilling them may cause the caramel to set too quickly upon contact. If you want to add a fun twist, try mixing apple varieties for a colorful display; just remember that different apples may require slight adjustments in cooking time or caramel adherence.
Perfecting Your Caramel
Achieving the perfect caramel requires attention to detail. As you melt the sugar and butter, keep stirring to prevent scorching, which can result in a burnt taste. The ideal caramel should reach a deep golden brown color, often taking about 10-15 minutes over medium heat. Once you add the heavy cream, continue to stir until you achieve a glossy, smooth consistency. If the caramel appears grainy, it may have crystallized; consider adding a few drops of lemon juice to help remedy this.
Another key tip is to work quickly once the caramel is ready. The longer it sits, the thicker it becomes, making it more challenging to coat the apples evenly. If you find that your caramel has started to thicken too much, simply reheat it gently over low heat while stirring until it reaches the desired pourable consistency again.
Customizing Your Treats
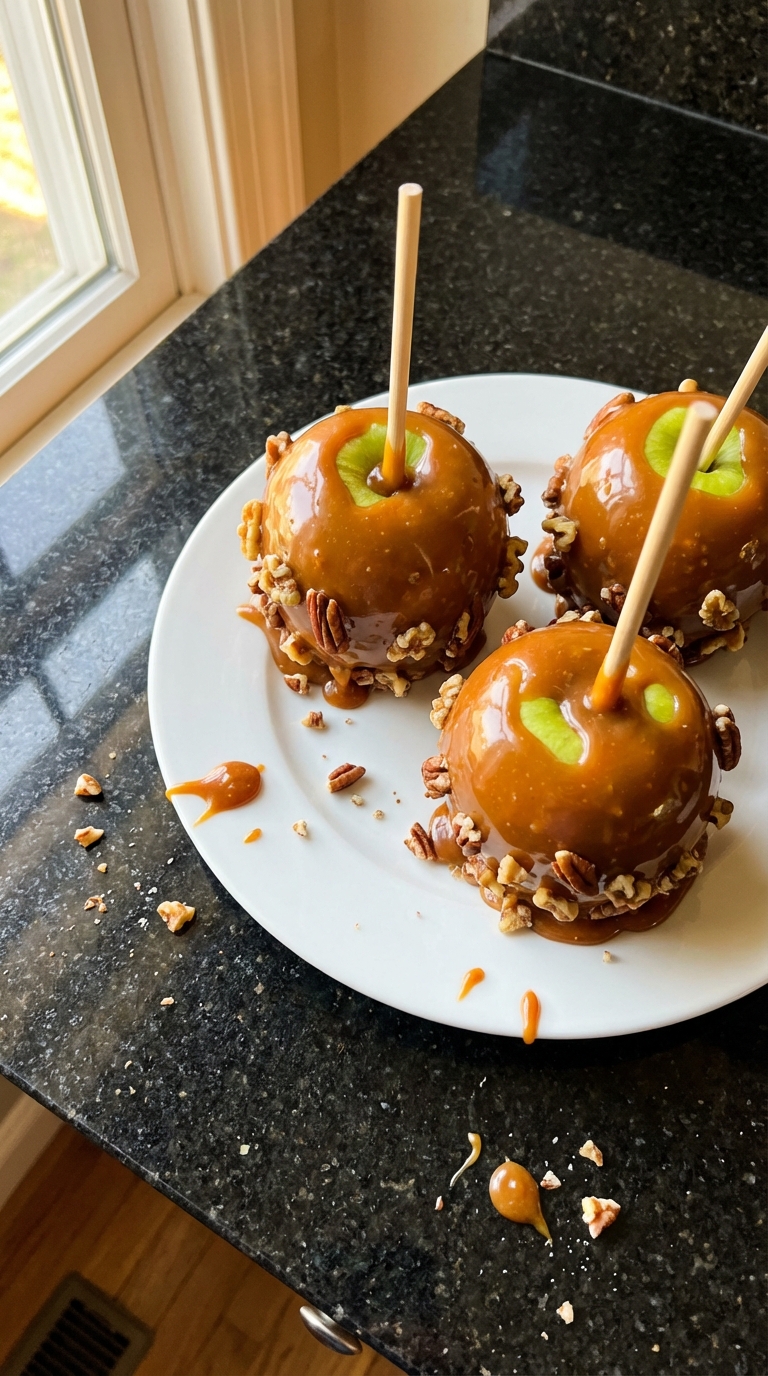
Customization is one of the best parts of making caramel drizzled candy apples! Experiment with various toppings to make each apple unique. Crushed nuts add a delightful crunch, while sprinkles provide a burst of color. If you love chocolate, consider drizzling melted chocolate over the cooled caramel for an extra level of richness. You can even mix and match toppings on a single apple for an artistic flair.
For a fun presentation, consider serving your candy apples on a decorative platter with seasonal elements like fall leaves or small pumpkins. This makes each apple not just a dessert but a piece of art that can steal the show at any autumn gathering. Just remember to allow the caramel to cool completely before storing or serving to maintain the integrity of your toppings.
Ingredients
Ingredients
For the Caramel:
- 2 cups granulated sugar
- 1/2 cup unsalted butter
- 1 cup heavy cream
- 1 teaspoon vanilla extract
- 1/4 teaspoon salt
For the Apples:
- 8 medium-sized tart apples (such as Granny Smith)
- 8 wooden sticks or skewers
- Optional toppings: crushed nuts, sprinkles, or chocolate chips
Make sure to wash the apples thoroughly to remove any wax before beginning.
Instructions
Steps
Prepare the Apples
Wash the apples to remove any wax and dry them completely. Insert a wooden stick into the top of each apple, ensuring it's secure.
Make the Caramel
In a saucepan over medium heat, combine the sugar and butter. Stir continuously until the mixture melts and turns a golden brown color. Carefully add the heavy cream, vanilla, and salt. Keep stirring until smooth.
Coat the Apples
Dip each apple into the warm caramel, twisting to ensure it's evenly coated. Let the excess caramel drip off before placing it on a parchment-lined baking sheet.
Add Toppings
If desired, sprinkle the apples with crushed nuts, sprinkles, or chocolate chips while the caramel is still warm.
Cool and Serve
Allow the caramel apples to cool completely at room temperature before serving. Enjoy your delicious creations!
Store any leftover caramel apples in an airtight container at room temperature.
Pro Tips
- For an extra touch, try adding flavored extracts to the caramel, like almond or peppermint, to create unique variations.
Storing and Making Ahead
Once your caramel drizzled candy apples are fully cooled, they can be stored at room temperature in an airtight container for up to a week. Avoid refrigerating them, as the humidity can make the caramel sticky. If you plan to make these a day in advance for an event, consider storing them separated with parchment paper to prevent sticking and preserve the presentation.
If you want to make these treats ahead of time, you can prepare the caramel and coat the apples up to a day in advance. When ready to serve, drizzle additional warm caramel over the apples to refresh the presentation and enhance the flavor just before serving.
Troubleshooting Common Issues
One common issue is caramel not sticking to the apples; this can happen if the apples still have wax on them. Make sure to wash the apples thoroughly and dry them completely before dipping. If you find your caramel is too thick to coat, gently reheat it with a splash of water or additional cream until it is fluid again.
If your caramel begins to crystallize during the cooking process, that usually means there was a sugar particle that triggered recrystallization. To prevent this, ensure all tools and surfaces are clean, and consider using a pastry brush to wash down the sides of the saucepan with water while heating to inhibit crystallization.
Variations and Flavor Combos
Try using flavored extracts in your caramel for a unique twist; almond or orange extract can brighten the flavor profile. Additionally, you can infuse the heavy cream with spices like cinnamon or nutmeg before incorporating it into the caramel for a warm, autumnal taste.
For an adult version of these candy apples, consider incorporating liqueurs like butterscotch schnapps into your caramel for a salted caramel apple experience. Just be cautious with the amount so it doesn’t alter the consistency too drastically.
Questions About Recipes
→ Can I use different types of apples?
Absolutely! Any firm and tart apple variety works well, but Granny Smith and Honeycrisp are particularly popular.
→ How long do these candy apples last?
They are best enjoyed fresh, but can last up to 3 days stored in an airtight container.
→ Can I make the caramel ahead of time?
Yes, you can make the caramel ahead and reheat it gently before dipping the apples.
→ What toppings do you recommend?
Popular toppings include crushed peanuts, colorful sprinkles, chocolate drizzle, or coconut flakes.
Caramel Drizzled Candy Apples
Created by: The Brothrecipes Team
Recipe Type: Dreamy Dessert Lab
Skill Level: Easy
Final Quantity: 8 servings
What You'll Need
For the Caramel:
- 2 cups granulated sugar
- 1/2 cup unsalted butter
- 1 cup heavy cream
- 1 teaspoon vanilla extract
- 1/4 teaspoon salt
For the Apples:
- 8 medium-sized tart apples (such as Granny Smith)
- 8 wooden sticks or skewers
- Optional toppings: crushed nuts, sprinkles, or chocolate chips
How-To Steps
Wash the apples to remove any wax and dry them completely. Insert a wooden stick into the top of each apple, ensuring it's secure.
In a saucepan over medium heat, combine the sugar and butter. Stir continuously until the mixture melts and turns a golden brown color. Carefully add the heavy cream, vanilla, and salt. Keep stirring until smooth.
Dip each apple into the warm caramel, twisting to ensure it's evenly coated. Let the excess caramel drip off before placing it on a parchment-lined baking sheet.
If desired, sprinkle the apples with crushed nuts, sprinkles, or chocolate chips while the caramel is still warm.
Allow the caramel apples to cool completely at room temperature before serving. Enjoy your delicious creations!
Extra Tips
- For an extra touch, try adding flavored extracts to the caramel, like almond or peppermint, to create unique variations.
Nutritional Breakdown (Per Serving)
- Calories: 290 kcal
- Total Fat: 15g
- Saturated Fat: 9g
- Cholesterol: 30mg
- Sodium: 95mg
- Total Carbohydrates: 38g
- Dietary Fiber: 1g
- Sugars: 32g
- Protein: 1g